
Budget-Friendly Garage Makeover in 3 Easy Steps
You're just three easy steps away from transforming your cluttered garage into a functional and stylish space that reflects your personality. Start by purging and preparing the space, getting rid of anything unused in the past year and creating zones for specific activities. Next, organize with multi-use items like wall-mounted pegboards and shelving units with built-in cabinets to maximize storage capacity. Finally, add finishing touches like DIY wall art, repurposed furniture, and decorative lighting to give your garage a personal touch. And that's just the beginning - you'll be amazed at how these simple steps can lead to a stunning transformation.
Key Takeaways
• Start by decluttering and purging unnecessary items, sorting them into keep, donate/sell, and discard piles to free up space.
• Invest in multi-use items like wall-mounted pegboards, shelving units, and workbenches with storage to optimize storage capacity.
• Create zones for specific activities to maximize potential and make the most of the available space in your garage.
• Repurpose old furniture and add DIY touches like wall art, greenery, and decorative lighting to give your garage a personalized feel.
• Focus on functionality and efficiency to achieve a budget-friendly garage makeover that meets your needs without breaking the bank.
Purge and Prepare the Space
Start by decluttering anything you don't need or use, as a cluttered garage can't be transformed into a functional space without first purging it of its unnecessary contents. Declutter efficiently by sorting items into three piles: keep, donate/sell, and discard. Be ruthless – if you haven't used it in the past year, it's likely you won't miss it.
Remove everything from the garage, including shelves and storage containers, to get a clear view of the space. Take this opportunity to sweep and clean the floor, walls, and ceiling.
Next, create zones within the garage to categorize and prioritize your remaining items. Designate areas for specific activities, such as a workstation, storage area, or parking zone. This will help you visualize how you want to use the space and make sure everything has a designated home. By doing so, you'll be able to maximize the garage's potential and create a functional layout that suits your needs.
With a clean slate and a clear plan, you're ready to move on to the next step in your garage makeover journey.
Organize With Multi-Use Items
By incorporating multi-use items into your garage design, you'll be able to maximize storage capacity while minimizing clutter. This is where space optimization comes into play. Multi-use items serve as efficient storage solutions, allowing you to make the most of your garage's available space.
Here are some examples of multi-use items you can incorporate into your garage design:
-
A wall-mounted pegboard with hooks for hanging tools and bins for storing small items
-
A shelving unit with built-in cabinets and drawers for storing everything from seasonal decorations to automotive supplies
-
A workbench with built-in storage compartments for tools and materials
- A ceiling-mounted bike rack that doubles as a storage unit for infrequently used items
Add Finishing Touches
With your multi-use items in place, you're now ready to add the finishing touches that will transform your garage from a cluttered space to a functional and stylish area.
Start by creating DIY wall art that reflects your personal style. You can use old tools, gears, or other machinery parts to create a unique piece that adds visual interest to your garage.
Next, repurpose furniture to add functionality and comfort to your space. Consider upcycling an old bench or table to create a workstation or seating area.
You can also add some greenery to bring in a touch of nature and freshness.
Finally, add some decorative lighting to highlight your DIY wall art and create ambiance.
With these finishing touches, your garage will be transformed into a space that's not only functional but also inviting and stylish.
Frequently Asked Questions
Can I DIY a Garage Makeover or Do I Need Professional Help?
"Rome wasn't built in a day, but you can DIY a garage makeover in a weekend! You're wondering if you need pro help, but considering the cost, DIY might be the way to go, saving you a pretty penny."
How Do I Deal With Hazardous Materials During the Makeover Process?
When dealing with hazardous materials, you'll need to take safety precautions seriously, donning protective gear and ensuring proper ventilation to avoid exposure; then, dispose of waste properly through designated hazardous waste disposal facilities.
What if I Have Limited Natural Light in My Garage?
If you're dealing with limited natural light in your garage, you'll need to get creative with lighting solutions. Consider installing new windows or adding a skylight to bring in more light, and optimize your storage options to minimize shadows.
Are Epoxy-Coated Floors Worth the Investment for Durability?
"A million bucks later, you'll still be thrilled with epoxy-coated floors! They're worth the investment, as they outlast other options, offering unparalleled durability. Compare the cost to frequent repainting, and you'll see the longevity benefits are well worth the upfront expense."
Can I Repurpose My Old Garage Cabinets or Should I Replace Them?
You can repurpose your old garage cabinets by exploring upcycling options or refinishing them, which are cost-effective solutions. Consider DIY refinishing versus hiring a professional to determine the best approach for your garage makeover.
Related Posts
-
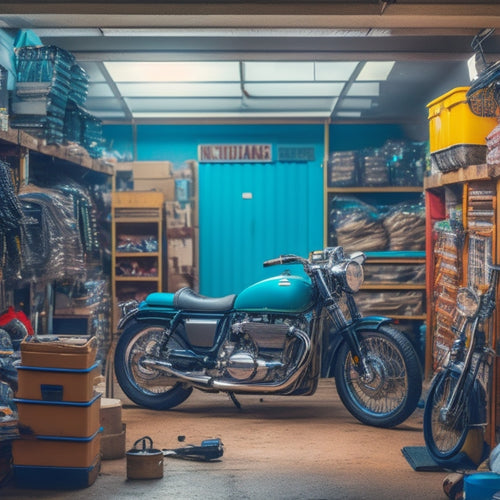
Why Garage Storage for Motorcycles Falls Short
You're struggling to find a garage storage system that meets your motorcycle's unique needs, resulting in a cluttered...
