Budget-Friendly Garage Storage Solutions You Can Create
Share
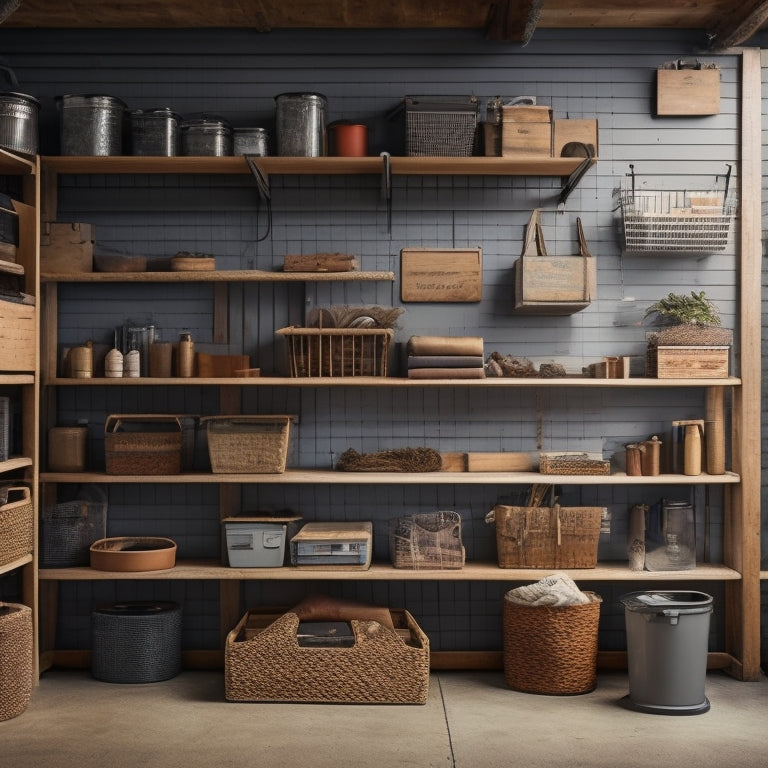
You can transform your garage into a clutter-free space without breaking the bank by repurposing household items, like old storage baskets and furniture, into functional storage solutions. Utilize vertical space by installing hanging baskets and wall hooks, and create a pegboard system to organize tools and accessories. DIY shelving solutions, like floating shelves and custom units, can be built on a budget using reclaimed wood and metal brackets. To maximize storage, focus on corner and ceiling spaces, and explore affordable bin organization techniques. By implementing these solutions, you'll be well on your way to a more organized garage - and there are even more creative ideas waiting to be discovered.
Key Takeaways
• Repurpose household items like old furniture, baskets, and containers to create a functional storage system at little to no cost.
• Utilize vertical space by installing hanging baskets, wall hooks, and shelves to maximize storage capacity without breaking the bank.
• Create a pegboard system using affordable materials and organize tools by category for efficient access and storage.
• Design and build DIY shelving solutions using reclaimed wood, metal brackets, and repurposed pallets or crates to save money.
• Implement inexpensive bin organization techniques, such as labeling and stacking, to optimize storage space and reduce clutter.
Repurposing Household Items
You can breathe new life into old items and save money by repurposing household items as garage storage solutions. With a little creativity, you can transform items you'd otherwise toss or donate into functional storage solutions.
For instance, an old storage basket can be hung from the ceiling or mounted on a wall to store items like bags, tools, or accessories. You can also repurpose containers like plastic bins, wooden crates, or cardboard boxes to store items like nuts and bolts, screws, or other small parts. Simply clean and label them, and you'll have a functional storage system in no time.
Another idea is to use old shelves or bookcases to store larger items like tires, tools, or equipment. You can also repurpose old furniture like dressers or nightstands to store items like cleaning supplies, paint, or other chemicals.
Utilizing Vertical Space
Maximizing garage storage often requires thinking upward, as walls and ceilings offer vast, untapped opportunities for storage when outfitted with the right solutions.
You can capitalize on this vertical space by installing hanging baskets, which are perfect for storing items like bikes, tools, or sports equipment. These baskets can be attached to the ceiling or walls, keeping your floor clear and providing easy access to your belongings.
Another effective way to utilize vertical space is by using wall hooks. You can hang everything from bikes and lawn equipment to tools and accessories, keeping them organized and within reach. Consider installing hooks with a built-in basket or tray to store small items like nuts and bolts, screws, or other fasteners. This will keep them from getting lost and make them easy to find when you need them.
Creating a Pegboard System
When creating a pegboard system, you'll want to start by designing the layout to maximize storage and accessibility.
Next, you'll need to decide how to organize your tools and accessories on the board, considering the items you use most frequently.
Pegboard Design Essentials
Designing an effective pegboard system starts with a clear understanding of the space and tools you need to organize. You'll want to assess the wall area available for your pegboard and the types of tools you need to store. Consider the frequency of use, size, and weight of each tool to determine the best layout.
Here are some essential considerations for your pegboard design:
-
Measure your wall space: Calculate the exact dimensions of your pegboard to ensure a snug fit and prime use of space.
-
Group similar tools together: Organize tools by category, such as hand tools, power tools, or fasteners, to improve accessibility and efficiency.
-
Leave space for expansion: Don't overcrowd your pegboard – leave some room for future additions or changes to your tool collection.
- Choose the right hooks and accessories: Select hooks and accessories that fit your tools and are easy to use, such as bins for small parts or a magnetic strip for metal tools.
Tool Organization Ideas
You'll create a pegboard system that truly works for you by assigning a home to each tool and grouping them in a logical order that mirrors your workflow. Start by categorizing your tools into sections, such as power tool storage, hand tool storage, and garden tool organization.
Within each section, arrange tools in the order you typically use them. For instance, if you usually reach for your drill first, followed by your screwdriver, place them in that sequence on the pegboard.
Label each section and tool to make sure you can quickly identify what's stored where. Consider color-coding labels to distinguish between tool types or categories. This visual system will help you locate tools in seconds, saving you time and frustration.
When deciding on the type and number of hooks, bins, and accessories, think about the size and shape of each tool. For example, use longer hooks for bulky power tools and shorter hooks for smaller hand tools.
Mounting the Pegboard
With your tools categorized and arranged in a logical order, it's time to bring your pegboard system to life by mounting the pegboard itself in a convenient and accessible location. You'll want to choose a spot that's easy to reach and won't disrupt your workflow. Consider the height and distance from your workbench to guarantee comfort and efficiency.
Here are some key considerations for pegboard installation:
-
Sturdy mounting: Use wall anchors or screws to secure the pegboard to the wall, ensuring it can support the weight of your tools and pegboard accessories.
-
Level installation: Make sure the pegboard is balanced to prevent tools from falling or becoming disorganized.
-
Clearance: Leave enough space around the pegboard for easy access and to prevent clutter from accumulating.
- Adjustability: Consider using adjustable mounting brackets to allow for future reconfigurations or additions to your pegboard system.
DIY Shelving on a Budget
As you prepare to create DIY shelving on a budget, gather essential materials like reclaimed wood, metal brackets, and screws to maximize storage space without overspending.
You can create floating shelves that provide ample storage for bins, tools, and other garage essentials. Add garage hooks to hang items like bikes, baskets, or accessories, keeping them organized and easily reachable.
When designing your DIY storage, consider custom solutions that cater to your specific needs. For instance, if you have a lot of long-handled tools, create a shelf with built-in dividers to keep them organized.
You can also repurpose old pallets or crates to create unique shelving units that add a touch of industrial chic to your garage.
Remember to measure your space carefully and plan your shelving layout before you start building. This will guarantee that you make the most of your available space and create a functional storage system that meets your needs.
With a little creativity and some elbow grease, you can create a budget-friendly DIY shelving solution that transforms your garage into a clutter-free haven.
Maximizing Corner Storage
Corner spaces often get wasted in garages, but clever storage solutions can turn these areas into valuable real estate for storing infrequently used items, seasonal decorations, or bulky equipment. By implementing creative solutions, you can optimize your garage's corner spaces and increase your storage capacity.
Here are some ideas to get you started:
-
Install corner shelving units that can hold bins, baskets, or boxes, keeping items off the floor and out of the way.
-
Utilize corner hooks to hang items like bikes, tools, or accessories, making the most of your garage's vertical space.
-
Create a carousel system using a rotating storage unit, providing easy access to items stored in the corner.
- Design a custom corner cabinet with adjustable shelves to store items of varying sizes, keeping them organized and hidden from view.
Affordable Bike Storage Ideas
Storing your bike in a garage can be a challenge, but you can keep it organized and out of the way by implementing affordable and space-saving storage solutions. One effective way to do this is by utilizing wall-mounted hooks or hanging racks. These solutions are not only budget-friendly but also take up minimal space, making them perfect for small garages.
Here are some affordable bike storage ideas you can consider:
| Storage Solution | Cost |
|---|---|
| Wall-mounted hooks | $10-$20 |
| Hanging rack with 2 bike capacity | $30-$40 |
| Overhead storage rack | $50-$60 |
| Ceiling-mounted bike lift | $70-$80 |
Upcycling Old Furniture
You can breathe new life into old furniture and create functional garage storage solutions by repurposing items like dressers, bookshelves, and cabinets. Not only will you reduce waste, but you'll also add a touch of vintage decor to your garage. With a little creativity, you can transform outdated pieces into unique storage solutions that fit your needs.
Here are some ideas to get you started:
-
Turn an old dresser into a storage unit for tools and supplies. Remove the drawers and attach baskets or bins to store items like nuts and bolts, screwdrivers, and wrenches.
-
Convert a vintage bookshelf into a storage rack for bikes, sporting equipment, or luggage. Simply attach hooks or bins to the shelves to create a functional storage space.
-
Upcycle an old cabinet into a storage unit for cleaning supplies, paints, or other chemicals. Add labels and bins to keep items organized and easy to find.
- Repurpose a vintage table into a workbench or potting station. Add a vice, hooks, or a trellis to create a functional workspace.
Garage Ceiling Storage Options
When you're looking to maximize your garage's storage capacity, don't forget to look up! You'll find that your ceiling offers a wealth of opportunities for storage solutions that won't take up valuable floor or wall space.
Let's explore three effective garage ceiling storage options: overhead rack systems, hidden bin storage, and pulley-assisted lifts, which can help you reclaim your garage's vertical space.
Overhead Rack Systems
Overhead Rack Systems
Maximizing garage ceiling space with overhead rack systems can greatly increase storage capacity while keeping floors and walls clutter-free. By installing a sturdy rack system, you can store items like seasonal decorations, luggage, and out-of-season clothing, freeing up valuable floor space for your vehicle or other essentials.
Here are some benefits of overhead rack systems:
-
Easy installation: Most overhead rack systems come with DIY-friendly instructions, making it a breeze to install them yourself.
-
Adjustable: Many systems allow you to adjust the height and width of the racks to accommodate items of varying sizes.
-
Durability: Look for racks made from heavy-duty materials like steel or aluminum to make certain they can support the weight of your stored items.
- Customization: You can choose from a variety of rack styles and configurations to suit your specific storage needs and garage layout.
Hidden Bin Storage
Concealed from view, hidden bin storage systems cleverly utilize garage ceiling space to stash away items like seasonal decorations, camping gear, or out-of-season clothing. You can create your own DIY hidden storage by installing bins or containers directly onto the garage ceiling. This is a great way to maximize vertical space and keep clutter at bay.
To get started, measure your garage ceiling to determine the size of the bins you'll need. Then, source the materials, such as plywood or plastic bins, and attach them to the ceiling using sturdy screws or brackets. You can also add labels or signs to identify what's stored in each bin.
For a more polished look, consider adding a sliding door or a hinged lid to your hidden bin storage. This will make it easy to access your stored items while keeping them out of sight.
With a little creativity and some basic DIY skills, you can create a functional and stylish hidden bin storage system that keeps your garage organized and clutter-free.
Pulley-Assisted Lifts
You can take your garage ceiling storage to the next level by incorporating pulley-assisted lifts, which allow you to easily access and store bulky items like bicycles, kayaks, or large containers. This DIY garage pulley system is a space-saving lift that maximizes your garage's vertical space, keeping your floor clear and organized.
Here are some benefits of pulley-assisted lifts:
-
Easy to install: With a few basic tools and some patience, you can set up a pulley system that suits your needs.
-
Customizable: Choose the type of lift and pulley system that fits your storage requirements, from simple rope pulleys to more complex motorized systems.
-
Budget-friendly: Compared to commercial storage solutions, a DIY pulley system is a budget-friendly organization hack that won't break the bank.
- Increased storage capacity: By lifting bulky items out of the way, you'll free up valuable floor space for other items or projects.
Inexpensive Bin Organization
Using inexpensive bins to store items in your garage can be an effective way to keep clutter at bay, but without a system in place, they can quickly become disorganized and useless.
To maximize your bin storage, you'll need to implement a labeling system that helps you quickly identify what's inside each bin. Consider using a marker to write the contents on the side of the bin or create labels with a label maker. Next, develop stacking techniques that allow you to make the most of your garage's vertical space. Place heavier bins at the bottom and lighter ones on top, and consider using dividers to keep items from getting jumbled.
To take your bin organization to the next level, try color coding your bins by category, such as tools, sports equipment, or seasonal decorations. This will help you quickly identify where items are stored.
Additionally, optimize your space by placing bins in areas that are easily accessible, such as near workbenches or frequently used tools. By implementing these strategies, you'll be able to find what you need quickly and keep your garage organized and clutter-free.
Frequently Asked Questions
How Do I Keep My Garage Organized After Implementing Storage Solutions?
To keep your garage organized, you're using garage shelving and organizational bins, right? Now, implement a labeling system to identify contents, and install wall hooks for hanging items, ensuring everything has a designated spot, making maintenance a breeze.
Are DIY Garage Storage Solutions Durable Enough to Last Long?
'Think of your DIY garage storage solutions like a well-built bridge: with sturdy materials and careful planning, they'll withstand the test of time. You'll guarantee durability by choosing materials that resist corrosion, and factors like climate, usage, and maintenance will impact longevity.'
Can I Customize Storage Solutions to Fit My Specific Garage Needs?
You can tailor customized organization to fit your garage's unique dimensions and needs, optimizing space with adjustable shelving, bins, and hooks that adapt to your specific storage requirements, ensuring maximum efficiency.
How Much Time Does It Take to Set up a Garage Storage System?
As you envision a clutter-free garage, you're wondering how much time it'll take to set it up. With efficient time management, you can dedicate a weekend to DIY projects, organizing your space into a haven of productivity.
Are Garage Storage Solutions Suitable for Small or Narrow Garages?
You'll be relieved to know that garage storage solutions are perfect for small or narrow garages, as they offer space-saving solutions like vertical storage and compact organization systems that maximize every inch of space.
Related Posts
-

What to Do With Seasonal Decorations in Garage?
You've got a garage full of seasonal decorations, and it's time to get organized! Start by purging items you no longe...
-

Why Garage Storage for Motorcycles Falls Short
You're struggling to find a garage storage system that meets your motorcycle's unique needs, resulting in a cluttered...
-

Easing Arthritis Pain: 7 Garage Storage Tips
You can ease arthritis pain in your garage by creating an accessible space that reduces strain and minimizes bending ...


