Build Your Own Garage Cabinets Like a Pro
Share
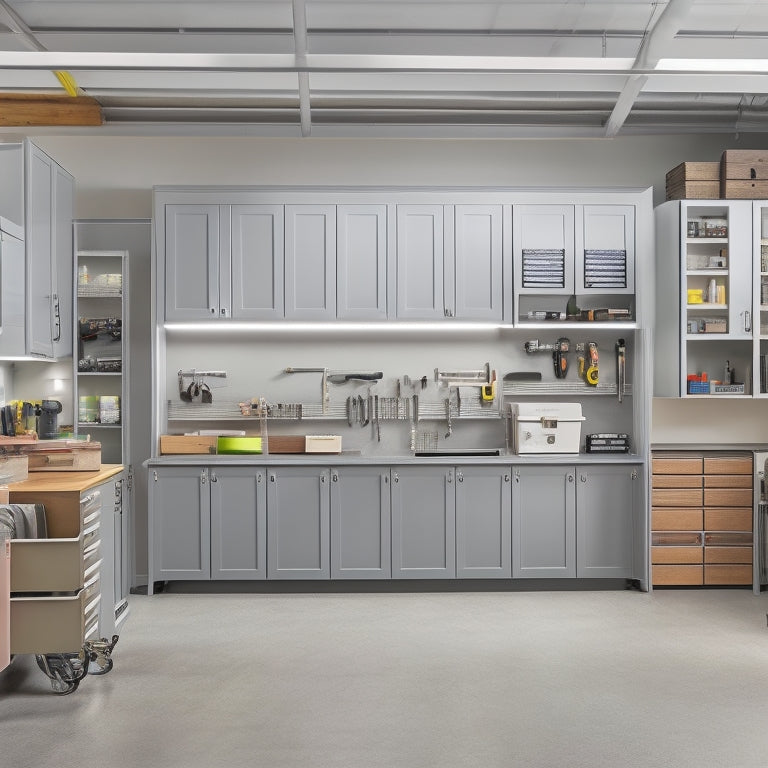
I've cracked the code to building garage cabinets that look and function like a pro's. I start with a sturdy structure, using ¾-inch plywood and durable materials that can withstand garage humidity and weight. I connect the frame with dado joints and secure it with wood glue and 2.5-inch screws. Then, I add a pull-out tray, doors, and cubbies for added functionality. Next, I focus on the top, attaching it with screws and adding a finish with polyurethane. Finally, I install the cabinets, adding hardware and a fresh coat of paint. Now, it's your turn to reveal the secrets to building garage cabinets that truly impress.
Key Takeaways
• Utilize ¾-inch plywood for a sturdy base and select materials resistant to garage humidity and weight for durability.
• Employ dado joints for frame assembly and secure pieces with wood glue and 2.5-inch screws for a snug fit.
• Focus on solid construction and take time for a meticulous assembly process to ensure long-lasting cabinets.
• Apply a fresh coat of semi-gloss paint and add modern hardware for a sharp, professional appearance.
• Install cabinets securely with screws in place to ensure a long-lasting and functional garage cabinet system.
Building the Cabinet Structure
I start constructing my garage cabinet structure by building the frame using ¾-inch plywood, which provides a sturdy base for the entire cabinet system. For a solid cabinet design, I choose materials that can withstand the garage's humidity and weight.
Next, I focus on joinery techniques, using dado joints to connect the shelves and frame. The assembly process demands precision, so I take my time to guarantee a snug fit. I use wood glue and 2.5-inch screws to secure the pieces together.
With the frame assembled, I'm ready to add the pull-out tray, doors, and cubbies. This cabinet structure is going to be rock-solid, and I can't wait to see the finished product!
Preparing and Attaching the Top
With the cabinet structure assembled, I rip and cut the top panel to size, ensuring a precise fit that complements the overall design. Now, it's time to add the finishing touches.
| Step | Description |
|---|---|
| 1 | Drill pocket holes for securing trim |
| 2 | Glue and screw maple trim for front piece |
| 3 | Cut overhanging pieces flush for tight joints |
| 4 | Fill out underside perimeter with plywood strips for stability |
| 5 | Apply two coats of polyurethane for top panel finishing |
I'm not just slapping on a top; I want it to look pro. I attach the trim, ensuring a seamless joint, and add plywood strips underneath for stability. Finally, I apply two coats of polyurethane to the top panel, giving it a rich, glossy finish. Now, my garage cabinets are starting to look like a million bucks!
Finishing and Installing the Cabinets
After applying the finishing touches to the top panel, secure it to the cabinets using screws from underneath to complete the DIY garage cabinet project.
Now, it's time to add the final flourishes – cabinet hardware and a fresh coat of paint. I opted for sleek, modern handles that complement the garage's industrial vibe.
When it comes to painting techniques, I'm a big fan of a good ol' fashioned roller job. A quick coat of semi-gloss, and these babies are looking sharp!
With the cabinets fully assembled, I can finally install them in the garage. A few screws later, and they're securely in place.
The end result is a sleek, functional, and dare I say, professional-looking garage cabinet system that's all mine!
Frequently Asked Questions
How Do I Ensure the Cabinets Are Level on an Uneven Garage Floor?
'I begin by performing a floor analysis to identify any dips or humps, then examine the foundation to make sure it's solid. After that, I adjust the cabinet's feet to compensate for any unevenness, guaranteeing a rock-solid installation that will make my DIY project shine!'
Can I Customize the Cabinet Design to Fit My Specific Garage Needs?
I'm all about customization! I consider my garage's unique quirks and design a layout that fits my style, blending aesthetic considerations like color schemes with functional layout tweaks, ensuring my dream cabinets meet my specific needs.
What Type of Hardware Is Best for the Pull-Out Tray and Doors?
Did you know 75% of homeowners wish they had more storage space? I'm no exception! For my pull-out tray and doors, I opt for soft-close hinges and ball-bearing slides - they're a game-changer for smooth, quiet operation and durability.
How Do I Protect the Cabinets From Moisture and Humidity?
"I'm paranoid about moisture, so I apply a waterproof coating to my cabinets, and consider installing humidity sensors to detect any sneaky dampness - better safe than soggy, right?"
Are There Any Special Considerations for Installing Cabinets Near a Garage Door?
When installing cabinets near a garage door, I guarantee proper door clearance and take into account the threshold's impact on floor leveling, making adjustments to avoid any wonky cabinet openings or awkward door swings.
Related Posts
-

What Apps Help You Tame Your Garage Chaos?
You can tame your garage chaos with apps like Sortly and Garage Organizer, which help you digitally label and categor...
