Beginner's Guide to Carpentry: Step-by-Step Tutorials
Share
Mastering Carpentry: Your Step-by-Step Guide
Welcome, aspiring carpenters and DIY enthusiasts! If you've ever gazed longingly at a beautifully crafted wooden table or marveled at the skill behind a sturdy bookshelf, then you're in the right place. Carpentry is not just a skill; it's a form of art that allows you to create functional pieces that can last a lifetime. Let's embark on this exciting journey together and unlock the world of carpentry with these step-by-step tutorials.
Getting Started: Essential Tools and Materials
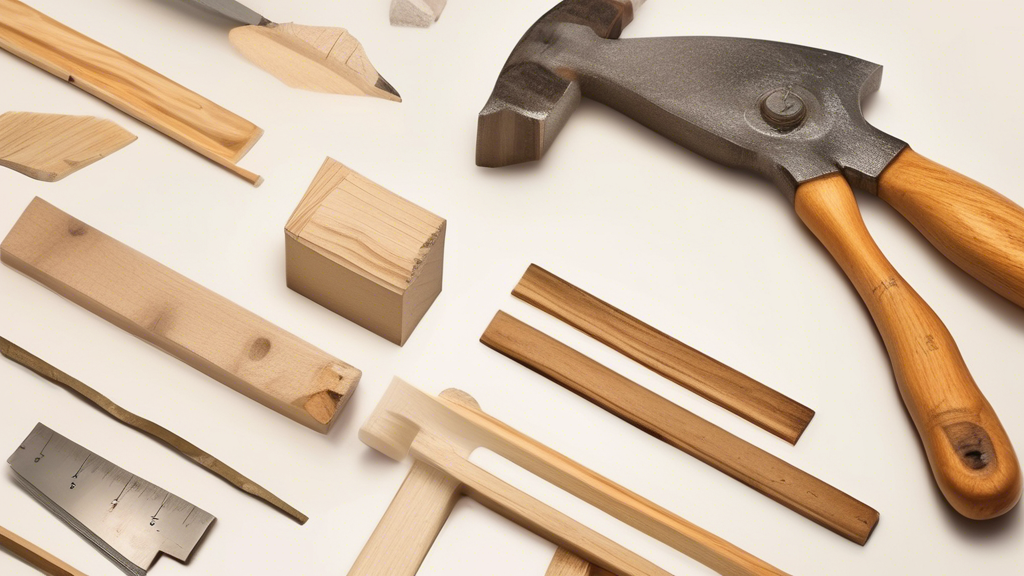
Before diving into your first carpentry project, it's crucial to have the right tools at your disposal. Here are some essential items to kickstart your carpentry journey:
- Hammer
- Tape Measure
- Saw (such as a Crosscut Saw or a Circular Saw)
- Chisels
- Claw Bar
- Screwdriver Set
- Sandpaper in Various Grits
- Wood Glue
Once you have your tools ready, the next step is to gather the right materials for your project. Explore different types of wood such as pine, oak, or maple, and choose the one that best suits your design and budget.
Building your Foundation: Basic Carpentry Techniques
Now that you have your tools and materials sorted, let's delve into some fundamental carpentry techniques:
- Measuring and Marking: Remember the age-old adage, Measure twice, cut once. Precision is key in carpentry, so take your time to measure and mark your wood before making any cuts.
- Cutting: Whether you're using a handsaw or a power saw, ensure that your wood is securely clamped before cutting. Safety should always be a top priority.
- Joinery: From simple butt joints to more complex dovetail joints, mastering various joining techniques will elevate the quality and durability of your creations.
- Sanding and Finishing: Smooth out rough edges and surfaces with sandpaper, and apply a stain or varnish to protect the wood and enhance its natural beauty.
Building Your First Project: A Simple Shelf
Now, let's put your newly acquired skills to the test by building a basic wooden shelf. Follow these steps:
- Measure and cut your wood to the desired dimensions for the shelf's sides and shelves.
- Join the pieces together using wood glue and screws, ensuring the structure is sturdy.
- Sand the entire shelf to achieve a smooth finish.
- Apply a coat of paint or stain for a polished look.
Voila! You've just created your first carpentry masterpiece.
Embracing Growth: Practice Makes Perfect
As with any craft, practice is key to honing your carpentry skills. Start with small projects and gradually work your way up to more complex pieces. Don't be afraid to make mistakes – every misstep is a learning opportunity that brings you one step closer to mastery.
Remember, Rome wasn't built in a day, and neither will your carpentry skills develop overnight. Enjoy the journey, embrace the process, and watch as your creations evolve from simple projects to stunning works of art.
Happy crafting!
Related Posts
-

Transform Your Cluttered Garage With Proven Systems
You're sitting on a cluttered garage's hidden potential, and by implementing the right combinations of strategies and...
-

7 Best Garage Storage Solutions for Athletes
As an athlete, you know the struggle of cluttered garages and lost gear. To maximize your space, start by categorizin...

