Easy DIY Woodworking Projects: A Step-By-Step Guide
Exploring the World of Easy DIY Woodworking Projects
Welcome, fellow woodworking enthusiast! If you're like me, the idea of diving into DIY woodworking projects fills you with equal parts excitement and a touch of nervousness. The thought of creating something beautiful with your own hands is incredibly appealing, but where do you even start? Fear not, for I am here to guide you through some easy and fulfilling woodworking projects step by step.
Why DIY Woodworking Projects?
Before we delve into the practicalities of woodworking, let's take a moment to appreciate why DIY woodworking projects are so special. There's a unique joy that comes from crafting something from scratch, from selecting the type of wood to putting the final finishing touches. The sense of accomplishment and pride in creating a tangible, lasting piece is truly unparalleled.
Choosing the Right Project
When starting out, it's crucial to pick a woodworking project that matches your skill level. Opting for a simple project not only helps you build confidence but also ensures a smoother learning curve. Some beginner-friendly woodworking projects include:
- A rustic wooden photo frame
- A wooden serving tray
- A set of custom coasters
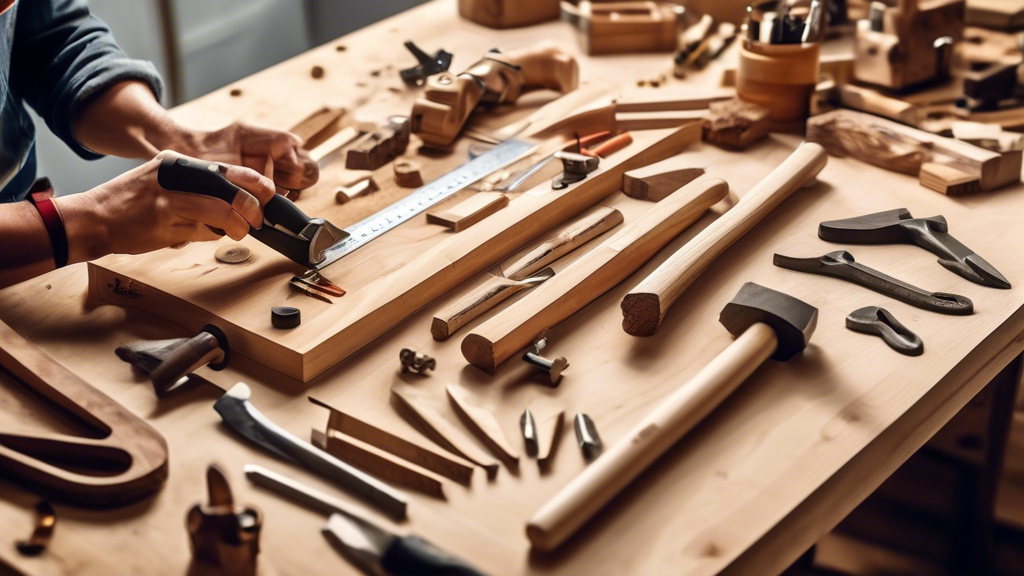
Gathering Your Tools and Materials
Now that you've settled on a project, it's time to gather your tools and materials. While a fully-equipped workshop is a woodworker's dream, you can start with just a few essentials:
- A saw - a handsaw or a jigsaw will do
- A power drill with drill bits
- Sandpaper in various grits
- Wood glue
- A measuring tape and pencil
Step-By-Step Guide
Let's walk through the basic steps of creating a wooden serving tray, shall we?
- Measure and Cut the Wood: Begin by measuring and cutting the wood to the desired dimensions for your tray.
- Assemble the Base: Use wood glue and clamps to attach the pieces together and let them dry completely.
- Add Handles: If desired, attach handles to the sides of the tray for easy carrying.
- Sand and Finish: Smooth out any rough edges with sandpaper and finish the tray with a coat of wood stain or varnish.
Embrace the Journey
Remember, woodworking is a journey, not a race. Mistakes will happen, and that's okay! Each project is an opportunity to learn and grow your skills. So put on your favorite music, grab your tools, and let your creativity flow.
Happy woodworking!
Related Posts
-
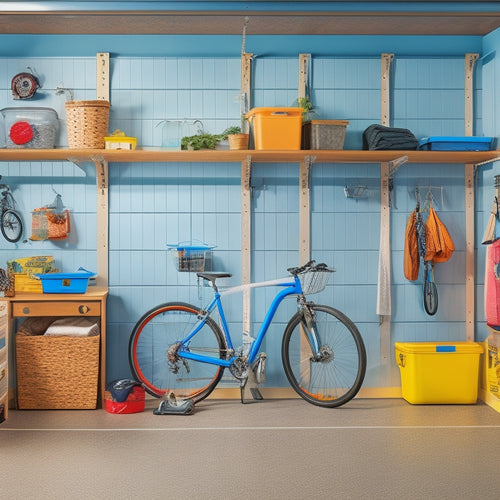
5 Best Garage Storage Solutions for Small Items
You can turn your garage into a tidy and functional space by implementing smart storage solutions for small items. Ma...
