
DIY Success: Garage Transformed Into Dream Studio
We turned our cluttered garage into a stunning photography studio in just 10 months, saving thousands of dollars by doing most of the work ourselves and prioritizing needs over wants. We successfully balanced style and functionality, budgeting wisely and implementing DIY renovation strategies. The result? A dream space that sparks creativity! Our garage transformation wasn't just about aesthetics; it was also a business investment, as we've doubled our monthly income with studio rental. We're excited to share the rest of our journey, from defining our studio style to crafting effective marketing techniques, and how we're making the most of our new space.
Key Takeaways
• Prioritize needs over wants to ensure a successful garage-to-studio transformation, focusing on functionality and efficiency.
• Save money by doing most of the renovation work independently, allowing for a bigger budget for essential equipment and materials.
• Create a beautiful, natural-light space by strategically planning the layout and incorporating large windows or skylights.
• Plan for functionality by designing the studio to accommodate equipment, clients, and workflow, ensuring a seamless experience.
• Budget wisely and consider DIY renovation strategies to stay within financial means and achieve the desired studio style.
From Garage to Dream Studio
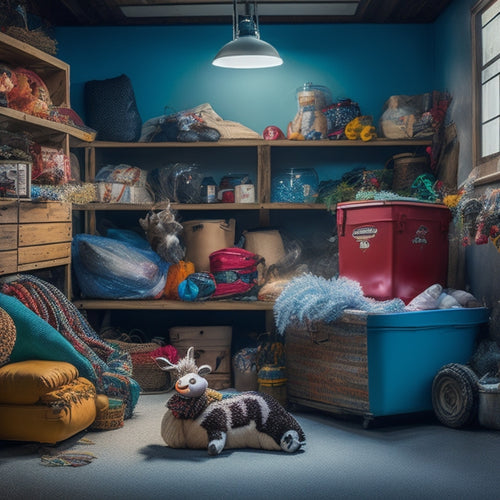
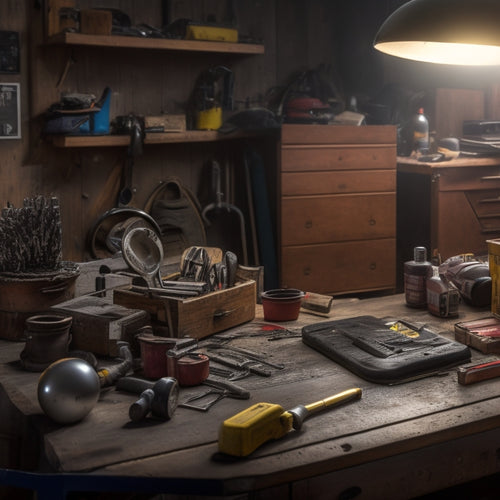
As we reflect on the transformation of our rundown detached garage into a stunning photography studio, we're reminded of the blood, sweat, and tears we invested to bring our dream to life.
We didn't break the bank, though! By doing most of the work ourselves, we saved a pretty penny. It took us 10 months to complete, but the end result was worth it.
We're proud to say our DIY photography studio is now a beautiful, natural-light space where memories are made.
If you're looking to create your own studio, here's a tip: prioritize what you need versus what you want. And don't be afraid to get your hands dirty!
With some renovation tips and budget-friendly ideas, you can turn your own garage into a dream studio.
Building a Photography Business
Transforming our garage into a photography studio was just the beginning; now, we're focused on building a thriving business that brings in a steady stream of clients and allows us to pursue our passion for capturing life's precious moments.
We've developed business strategies that work, from identifying our target audience to crafting marketing techniques that drive results. We've learned to effectively communicate with clients, creating a seamless experience from booking to delivery.
Our studio rental business has taken off, and we're now doubling our monthly income. With our Photo Studio System, we're sharing our knowledge and tools to help others achieve success. By following our step-by-step guide, photographers can create their dream studio and confidently take their business to the next level.
It's time to turn our passion into a profitable venture!
Creating a Dream Space
We poured our hearts and savings into renovating the rundown garage, and now, we're excited to share the lessons we've learned in creating a dream photography studio that sparks creativity and inspires our clients.
Here are some key takeaways from our studio transformation journey:
-
Define your style: Determine the aesthetic you want to achieve in your studio, from modern to vintage, to create a cohesive look.
-
Plan for functionality: Design your space to accommodate your equipment, clients, and workflow, ensuring a seamless experience.
-
Budget wisely: Prioritize your spending, and consider DIY renovation strategies to save costs without compromising on quality.
Frequently Asked Questions
How Did You Balance DIY Renovation With Photography Business Tasks?
"We mastered time management by delegating tasks, prioritizing DIY renovation phases, and juggling photography business tasks, all while maintaining our sanity - and sense of humor!"
Were There Any Major Setbacks During the 10-Month Renovation Process?
"Did you know 75% of DIY projects exceed their timeline? We were no exception! During our 10-month renovation, we faced renovation nightmares like discovering asbestos and unexpected obstacles like a broken water pipe, but we persevered and learned from our mistakes."
How Did You Prioritize Studio Equipment and Furniture Purchases?
When opening our studio, we prioritized essential tools, like cameras and lighting, over fancy furniture, due to budget constraints, and DIY-ed what we could, to make sure we had the essentials to deliver high-quality photos.
Did You Have Any Experience With Electrical or Plumbing Work Beforehand?
Like a ship without an anchor, we were clueless about electrical and plumbing work, but we charted a course with vocational training and online tutorials, finding our way through the unknown to create our dream studio.
How Do You Maintain the Natural Light in Your Studio Over Time?
"We maintain natural light in our studio by using light filters and clever window treatments, ensuring a soft, diffused glow that's perfect for capturing life's precious moments - and our sanity, too!"
Related Posts
-
What to Do With Seasonal Decorations in Garage?
You've got a garage full of seasonal decorations, and it's time to get organized! Start by purging items you no longe...
-
3 Best Garage Business Productivity Apps for Iphone
You can take your garage business to the next level with three must-have iPhone apps. For inventory tracking, conside...

