Organize Your Tool Chest: Top 3 Tips
Welcome to the Ultimate Guide on Organizing Your Tool Chest!
Are you tired of rummaging through your tool chest, only to find your favorite screwdriver buried beneath a pile of wrenches and hammers?
As a DIY enthusiast myself, I understand the frustration of a disorganized tool chest. But fear not, because today, I'm here to share with you the top 3 tips on how to effectively organize your tool chest like a pro! Let's dive in.
Tip 1: Sort and Declutter
The first step in achieving tool chest nirvana is to sort through your tools and declutter. Trust me; you'll be surprised at how many duplicates or rusty tools you'll find hiding in the depths of your chest.
Here's how to tackle this step:
- **Empty it Out**: Start by emptying your tool chest completely. It may seem overwhelming at first, but it's the only way to get a clear picture of what you're working with. - **Sort Through Your Tools**: Separate your tools into categories such as screwdrivers, wrenches, pliers, etc. This will make it easier to see what you have and what you may need to add or replace. - **Say Goodbye to the Unnecessary**: Be ruthless and get rid of tools that are broken, rusty, or that you haven't used in ages. Decluttering will free up space for the tools you actually use and love.Tip 2: Utilize Drawer Organizers
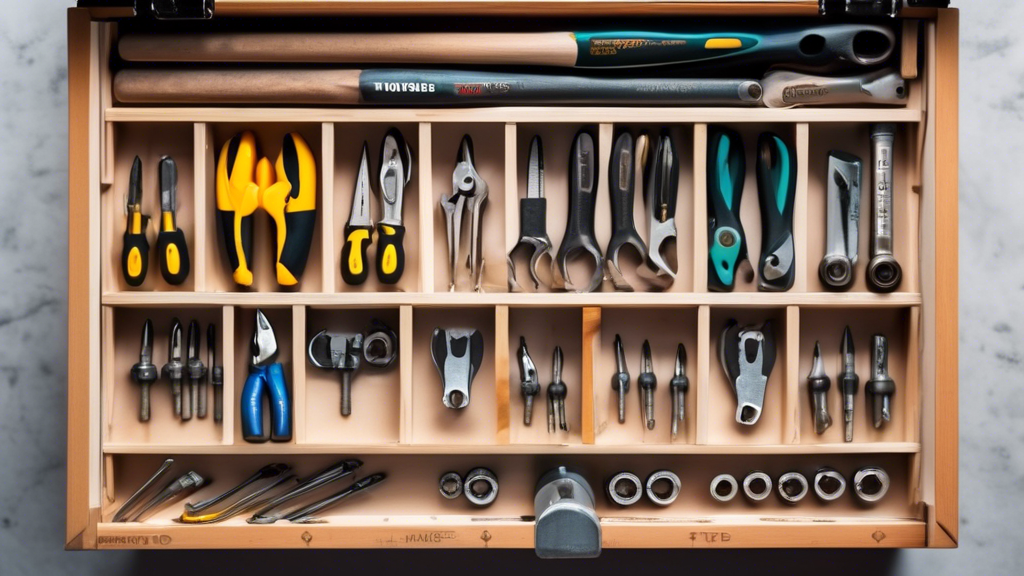
Drawer organizers are a game-changer when it comes to keeping your tool chest neat and tidy. No more digging through a jumbled mess of tools; with drawer organizers, everything has its place.
Here's how to make the most of drawer organizers:
- **Choose the Right Size**: Measure your tool chest drawers and select organizers that fit snugly. This will prevent them from sliding around and mixing up your tools. - **Assign Sections for Each Tool Type**: Designate sections for different types of tools. For example, have a section for screwdrivers, another for wrenches, and so on. This will make finding the right tool a breeze. - **Label, Label, Label**: Consider labeling each section to ensure that every tool finds its way back to its designated spot. This simple trick will save you time and frustration in the long run.Tip 3: Implement a Maintenance Routine
Maintaining an organized tool chest is an ongoing process, not a one-time task. By incorporating a maintenance routine into your schedule, you can ensure that your hard work doesn't go to waste.
Here's how to keep your tool chest in top shape:
- **Return Tools After Use**: Make it a habit to return each tool to its proper place after using it. This simple act can prevent clutter from piling up again. - **Regularly Wipe Down Your Tools**: Keep your tools clean and rust-free by giving them a quick wipe down after each use. This will not only extend their lifespan but also make them more appealing to work with. - **Reassess and Rearrange Periodically**: Every few months, take the time to reassess your tool chest organization. You may have acquired new tools or changed your workflow, so adjusting the layout accordingly will keep everything running smoothly.By following these top 3 tips, you'll be well on your way to having a meticulously organized tool chest that not only looks impressive but also boosts your efficiency and enjoyment of your DIY projects. Happy organizing!
Related Posts
-

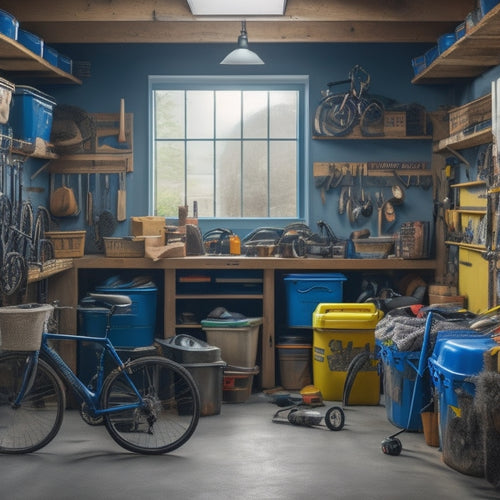
Organize Your Garage: Tool Storage Solutions Revealed
You're about to transform your cluttered garage into a highly efficient workspace by implementing a customized tool s...
-
What Apps Help You Tame Your Garage Chaos?
You can tame your garage chaos with apps like Sortly and Garage Organizer, which help you digitally label and categor...

